Install on WordPress
Adding the WePlant Badge to your WordPress website is a quick and easy process. It does not require any coding skills or technical knowledge.
Setting Up for Installation
In order to install the WePlant badge on WordPress, you will need the following:
- Admin access to your website’s WordPress Dashboard
- The code snippet for your WePlant Badge
If you don’t have a code snippet already, you can get it from here.
You will need to login to your ForestNation profile or signup to access the code for your WePlant Badge.
Installing on WordPress
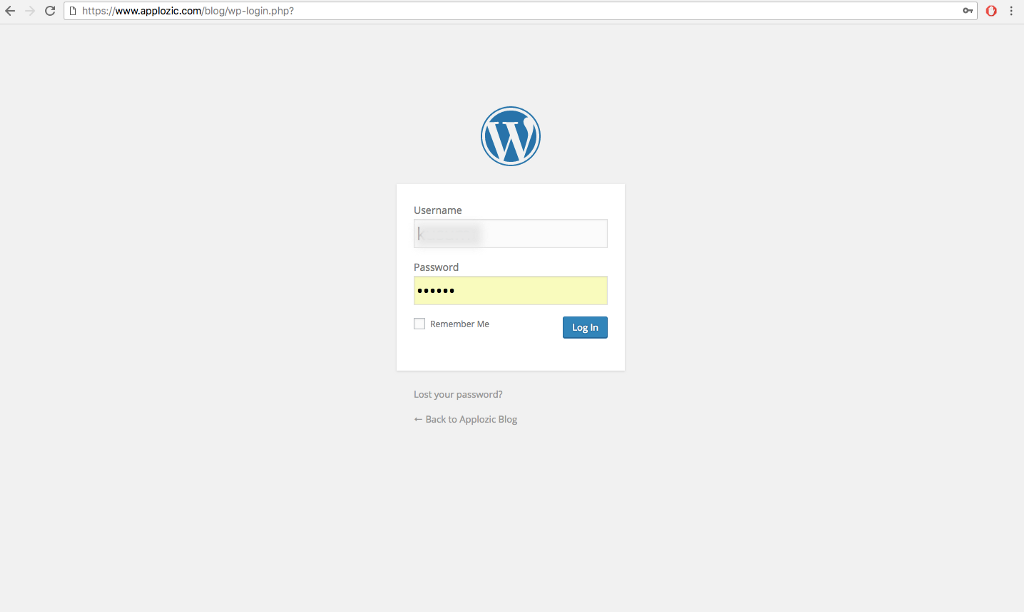
Step 1. Log in to WordPress
Navigate to your website’s WordPress Admin Dashboard and log in.
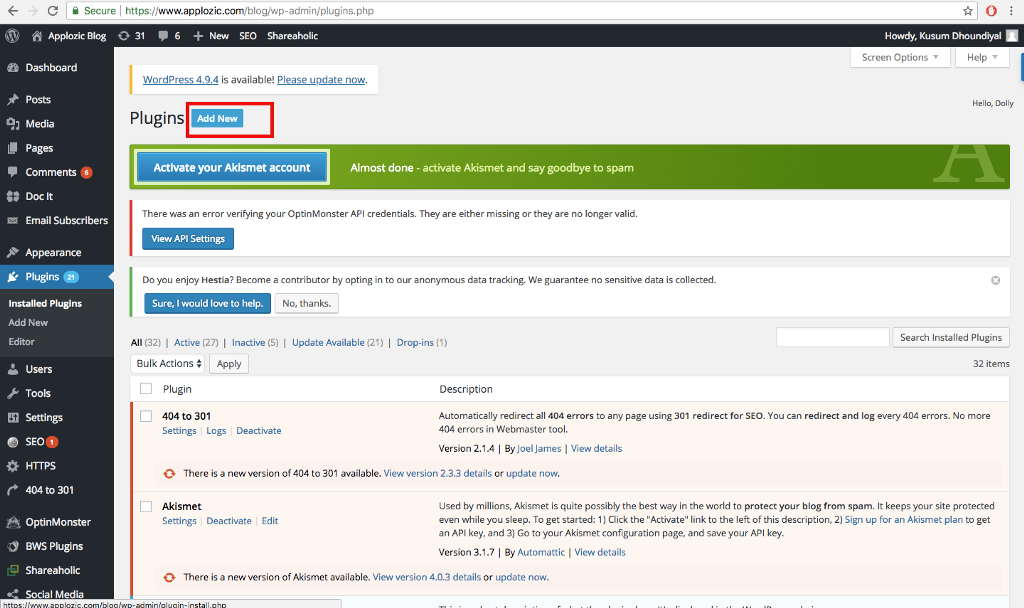
Step 2: Navigate to the Plugins Page
From the left navigation panel, click on “Plugins”. On the Plugins Page, press the blue “Add New” button on the top of the page.
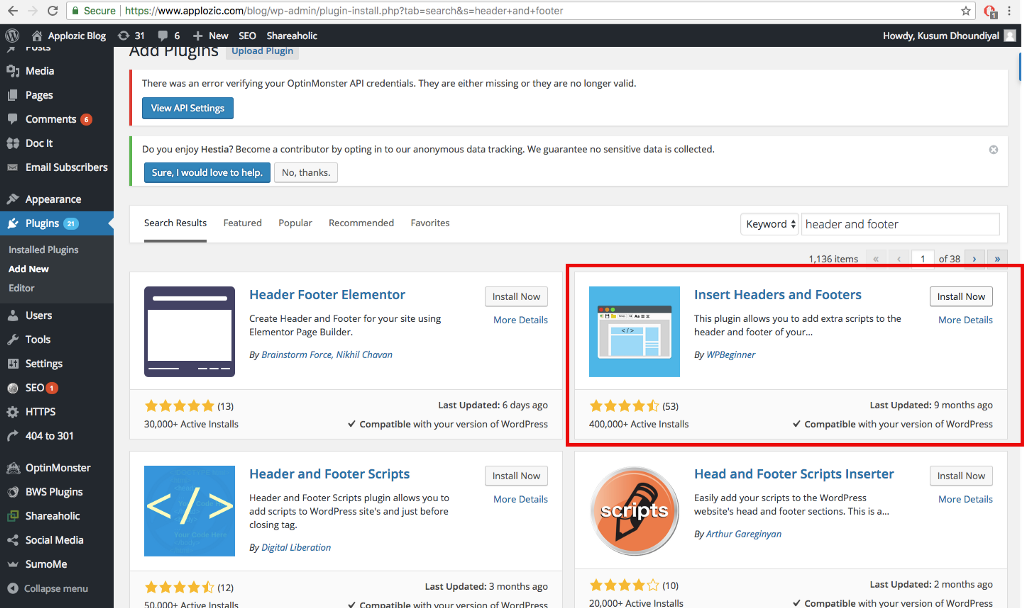
Step 3: Add New Plugin
Using the search bar, search for the “Insert Header and Footers” plugin. You will see many options on the search result page that you can use, but we will be using the “Insert Header and Footers” plugin by WPBeginner for this tutorial. Press the “Install Now” button and make sure you “Activate” the plugin to make use of it.
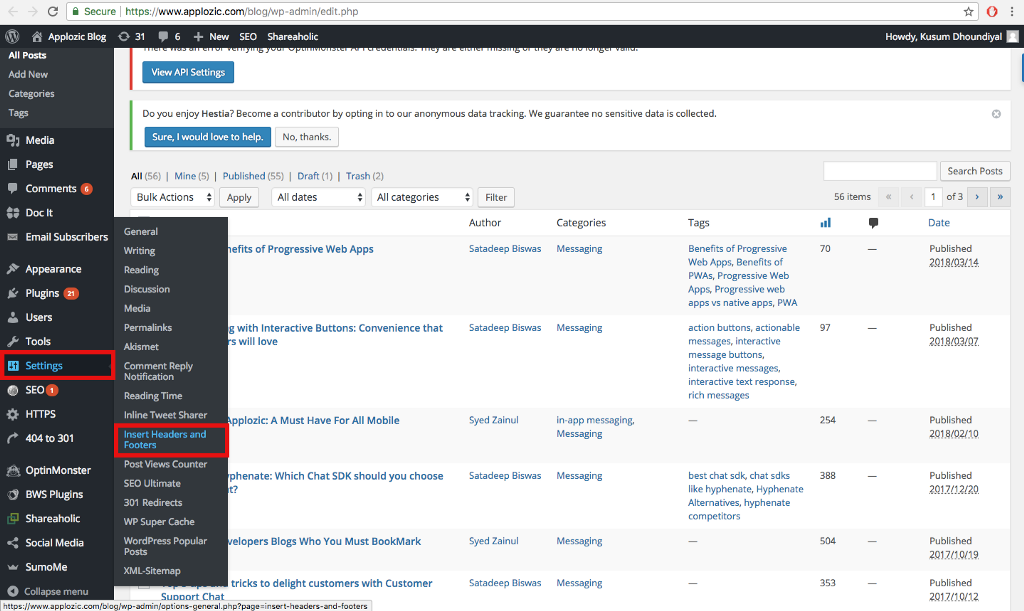
Step 4: Open Headers and Footer Console
From the left navigation menu, click on “Settings” and select the “Insert Headers and Footers” plugin from the settings submenu.
Step 5: Add the WePlant code
Copy your WePlant Badge code snippet and paste it into the “Scripts in Footer” section of the Header and Footer console page.
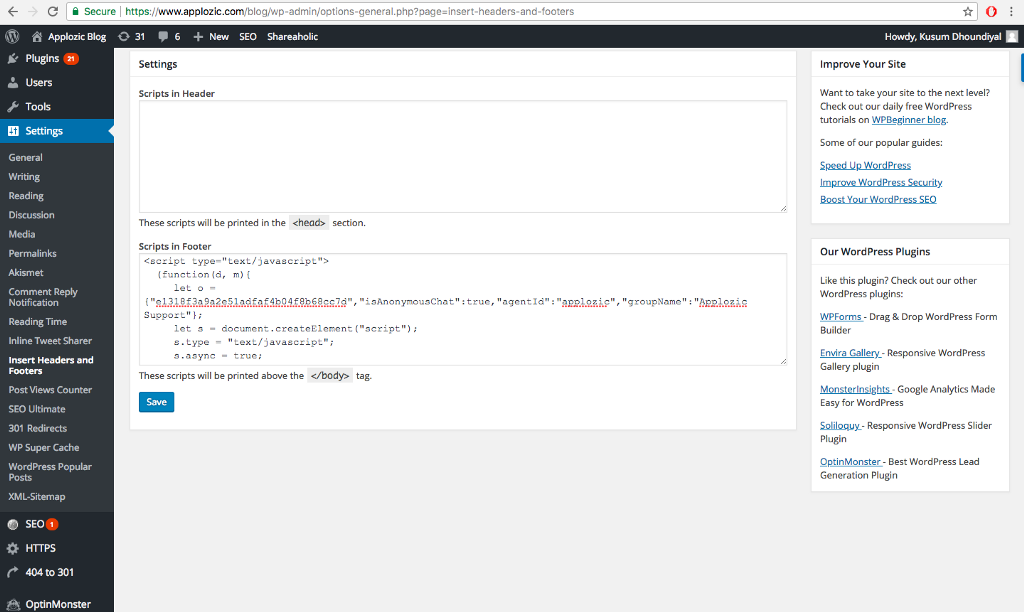
Once you have pasted the code snippet, click on the blue “Save” button on the bottom of the page.
Done!
Open your website and check out the WePlant Badge. Now your website visitors can see your tree planting impact live!